Finally got around to uploading pics of games played back in June.
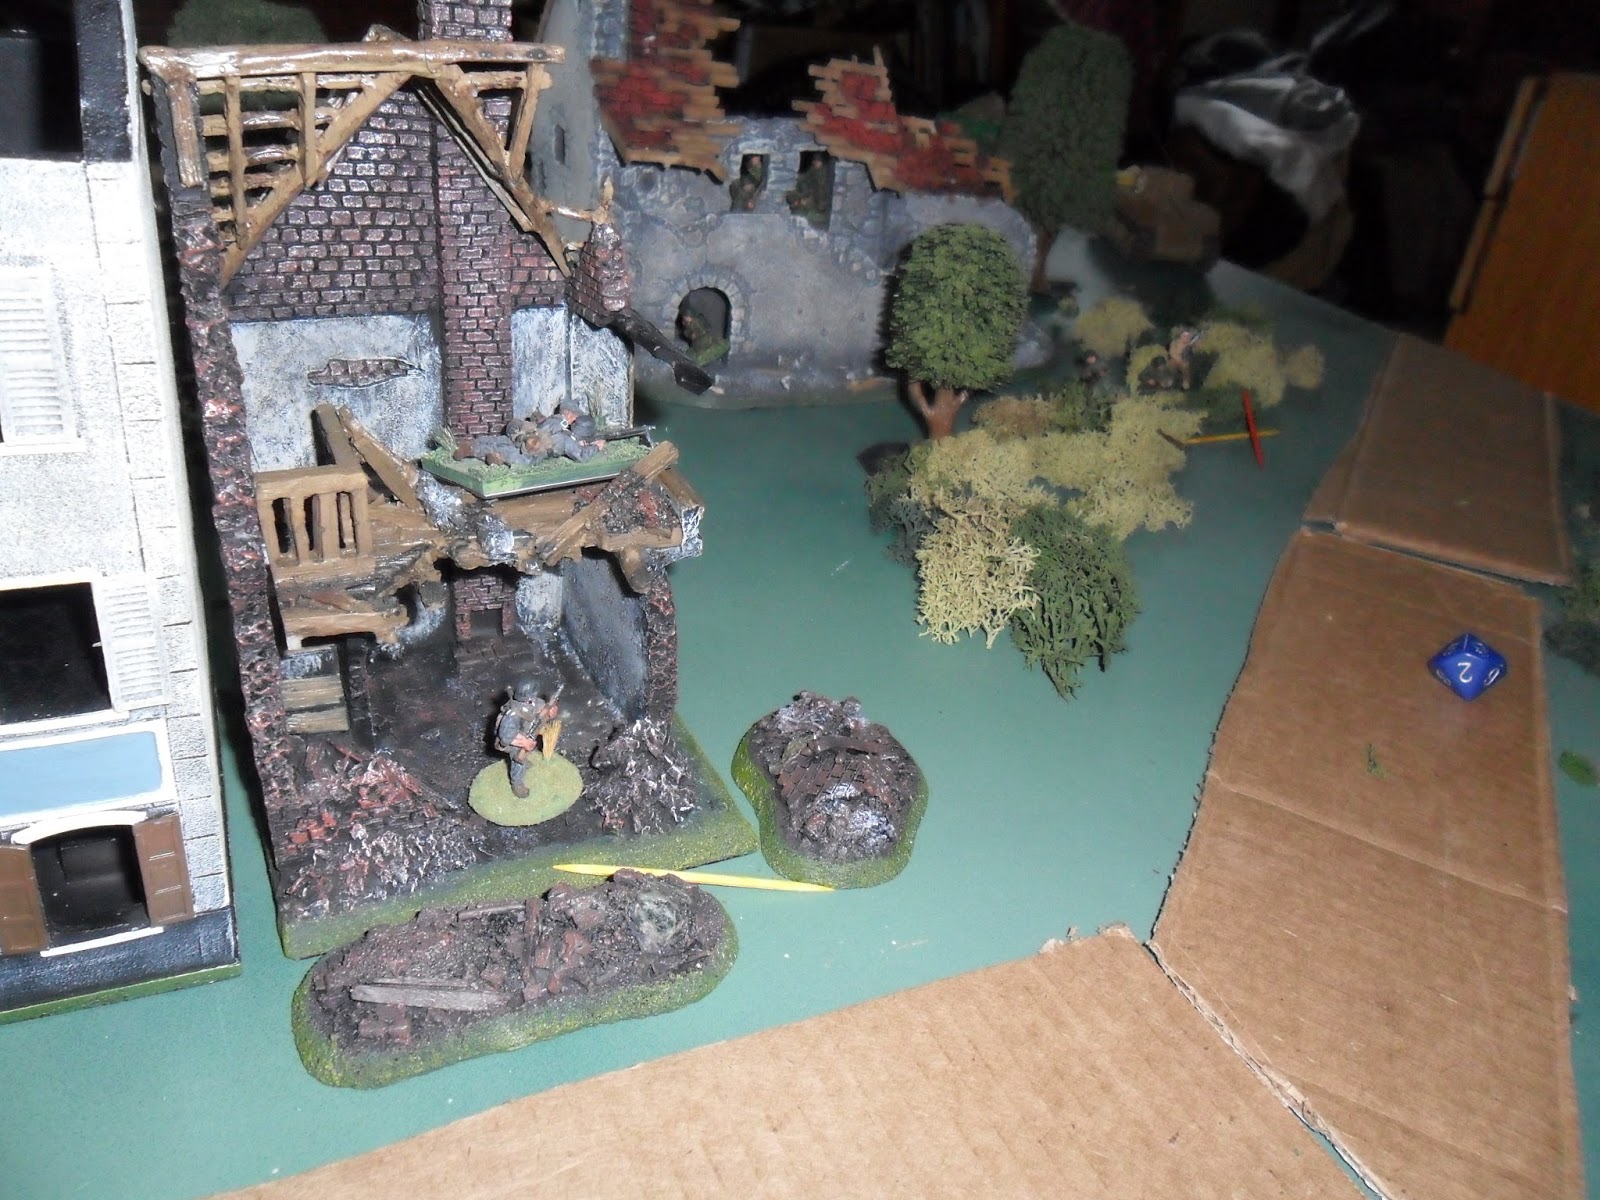
WW2 game using Disposable Heroes rules. 28mm
The US is attacking a German held town. All the ugly yellow slips of paper are potential hidden German units. Some were decoys.
The Germans inflicted a lot of casualties and didn't lose any armor but in the end the US held more obejective points for the win.
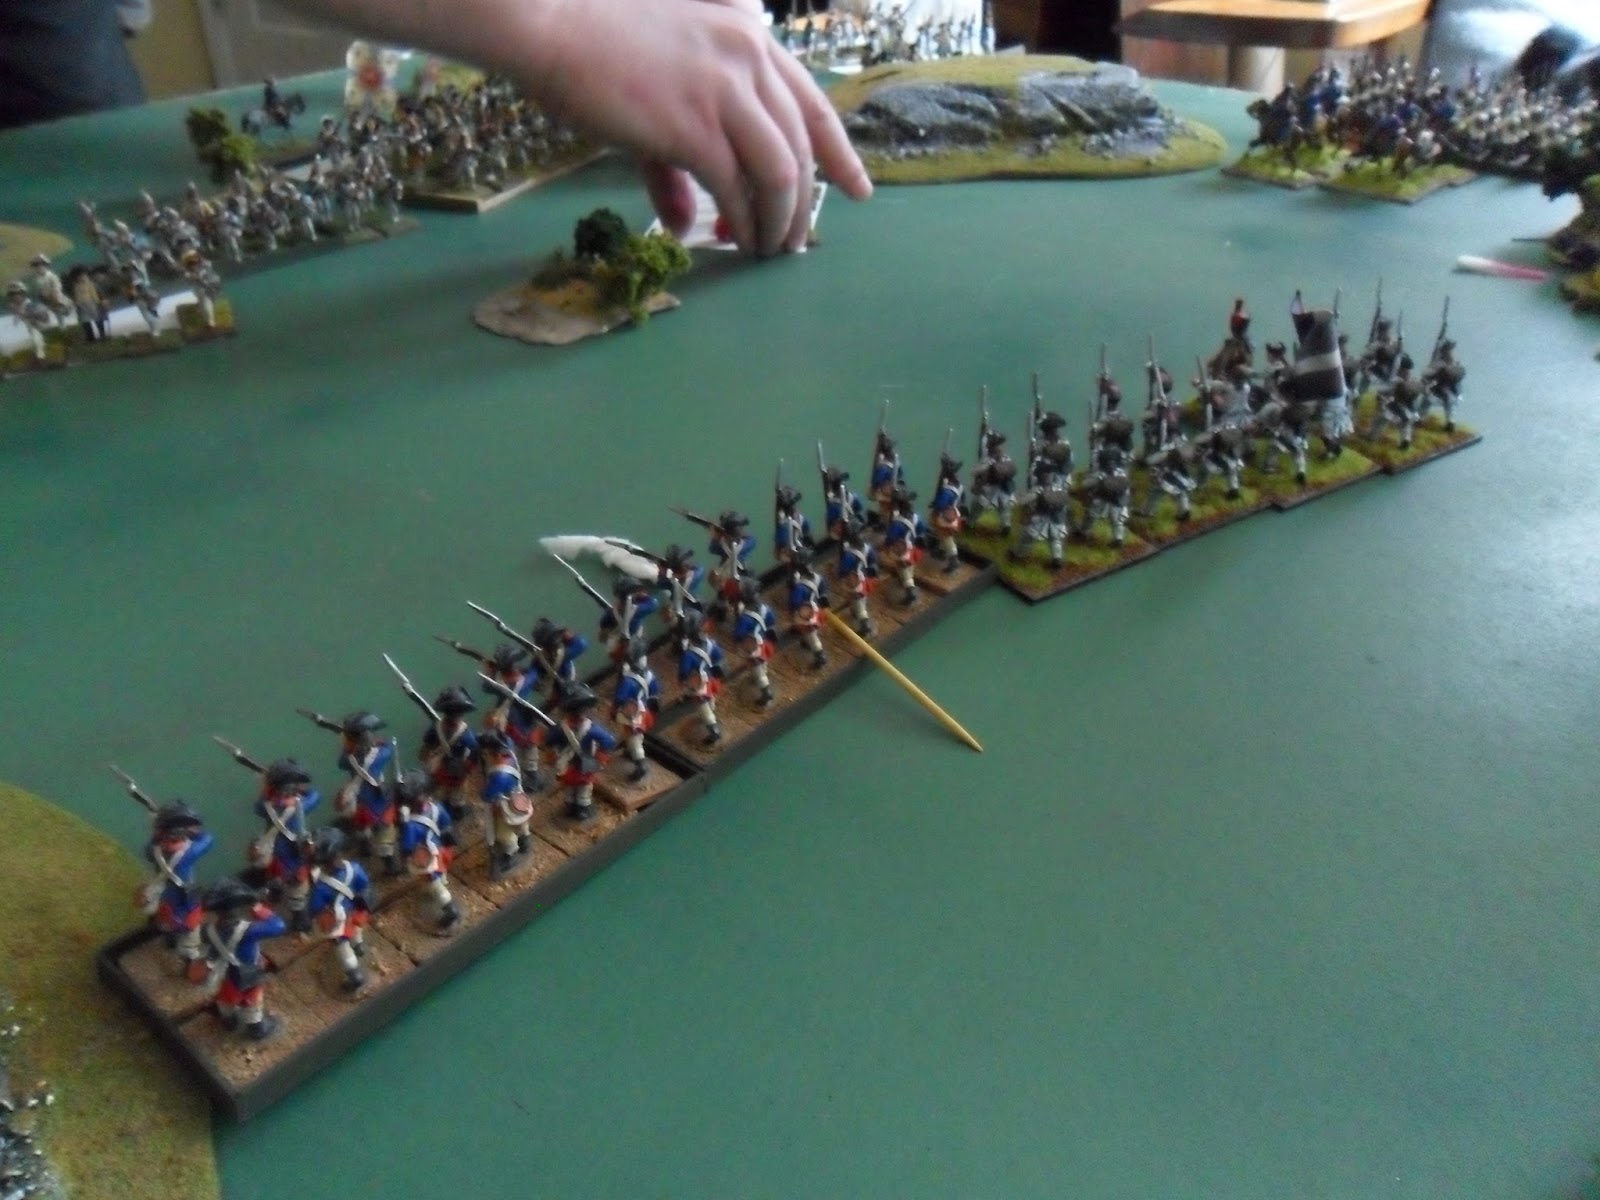
Another 28mm AWI game using home modified "This Very Ground" rules for big battles.
This time was another "professional" fight with Hessians vs a mixed force of French and USA.
US and French forces setup behind a blind.
French cavalry and grenadiers push up the right flank.
American regulars attack in the center.
US militia attemptes to flank on the left but they have a long duel with Hessian Jaegers who eventually fall back.
Towards the end, the French throw their weight into the center and right flank.
The Hessians are left with a few weak units on the right and their center in full retreat.
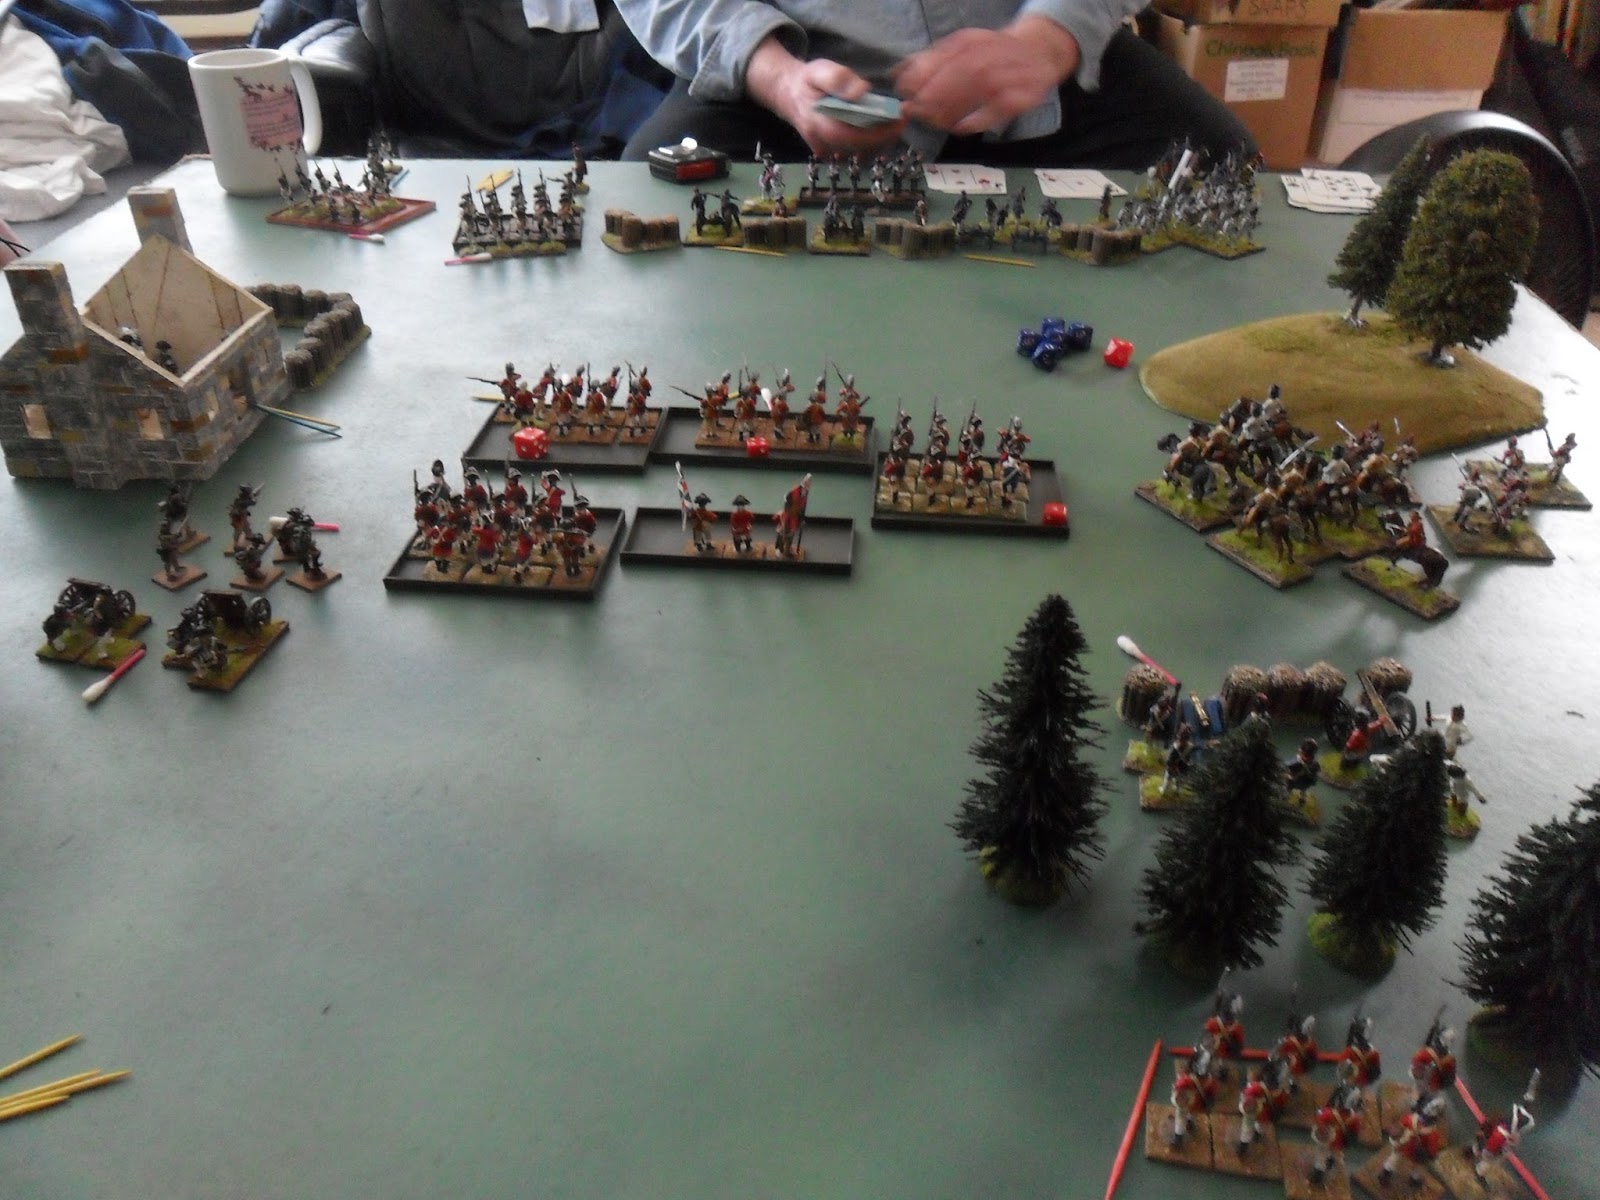
One more WW2 game set up. I forget how this one turned out.
Wargames of interest: Imperial Rome, Dark Ages, Middle Ages, FIW, AWI, Colonial, WW2, Vietnam, Modern, Fantasy. Mostly 28mm with a little 15mm here and there.
Showing posts with label AWI. Show all posts
Thursday, September 10, 2015
Monday, July 6, 2015
Playcation 2015
This year we played a lot of AWI and WW2. As usual, click the picture to get a larger version (we all know how the internet works by now, right?).
First off was a what if "Battle of the Professionals" AWI between French and British.
The British, with a numbers advantage, head for a French defensive position.
The French have a 2:1 gun advantage.
British cavalry on the right flank.
The British advance goes smoothly while in round shot range.
Once they reach grape shot range the casualties begin to mount quickly.
French cav looking flashy.
Supported by infantry, the French cav charge the flank to counter the British cav and light infantry.
A wholesale slaughter leaves a single French unit in command of the flank hill.
One fresh British unit manages to make it to the French guns but they loose the melee and the battle is won by the French.
First off was a what if "Battle of the Professionals" AWI between French and British.
The British, with a numbers advantage, head for a French defensive position.
The French have a 2:1 gun advantage.
British cavalry on the right flank.
The British advance goes smoothly while in round shot range.
Once they reach grape shot range the casualties begin to mount quickly.
French cav looking flashy.
Supported by infantry, the French cav charge the flank to counter the British cav and light infantry.
A wholesale slaughter leaves a single French unit in command of the flank hill.
One fresh British unit manages to make it to the French guns but they loose the melee and the battle is won by the French.
Saturday, February 28, 2015
Black Powder: Rebellion, Battle of White Plains
A 28mm game of AWI using the Black Powder rules and a scenario from the "Rebellion" supplement.
As usual I am about 5 years behind the times and this was my first game of Black Powder.
This scenario is actually Chatterton's Hill, Washington's right flank at the battle. The formidable Bronx River stands between the rebel scum and the King's justice.
The Royal left flank. The Hessian brigade begins the approach to the ford.
British guns in the center.
The British right is Jagers, cavalry and elite infantry (being portrayed by Queens Rangers in tonight's performance due to a painting scheduling conflict).
The US right flank is heavy with wavering militia, levy and a continental unit.
The British push across in the center.
Then the "unreliable" militia begins the beat down. First one British unit flees from the intense shooting, quickly followed by a Hessian unit.
A British unit crosses the ford and enters melee with some levy which handles them roughly and sees them retire back across the river.
Finnaly the Hessians emerge from the woods and the rebel right flank begins to withdraw.
On the other flank the British cavalry threaten to flank the Yankee line.
A prompt American counter attack checks the cavalry and sends the British back across the river.
(I couldn't find my bridge and this sad piece of balsa wood had to suffice. :/ )
The cavalry redirects and sets up to charge across the bridge.
They manage a good command roll and charge the Yankee gun crew.
The grape shot tears at them but they remain steady and close with the enemy.
The cavalry is victorious in the melee. The fleeing US crew is the last straw and the general retreat begins.
White Plains belongs to the King again!
A close game going down to turn 11 of 12. The US almost held out.
As usual I am about 5 years behind the times and this was my first game of Black Powder.
This scenario is actually Chatterton's Hill, Washington's right flank at the battle. The formidable Bronx River stands between the rebel scum and the King's justice.
The Royal left flank. The Hessian brigade begins the approach to the ford.
British guns in the center.
The British right is Jagers, cavalry and elite infantry (being portrayed by Queens Rangers in tonight's performance due to a painting scheduling conflict).
The US right flank is heavy with wavering militia, levy and a continental unit.
The British push across in the center.
Then the "unreliable" militia begins the beat down. First one British unit flees from the intense shooting, quickly followed by a Hessian unit.
A British unit crosses the ford and enters melee with some levy which handles them roughly and sees them retire back across the river.
Finnaly the Hessians emerge from the woods and the rebel right flank begins to withdraw.
On the other flank the British cavalry threaten to flank the Yankee line.
A prompt American counter attack checks the cavalry and sends the British back across the river.
(I couldn't find my bridge and this sad piece of balsa wood had to suffice. :/ )
The cavalry redirects and sets up to charge across the bridge.
They manage a good command roll and charge the Yankee gun crew.
The grape shot tears at them but they remain steady and close with the enemy.
The cavalry is victorious in the melee. The fleeing US crew is the last straw and the general retreat begins.
White Plains belongs to the King again!
A close game going down to turn 11 of 12. The US almost held out.
Thursday, October 16, 2014
"Land of the Free" AWI rules: A sample game turn
This is my first playtest of "Land of the Free" war game rules from Osprey Publishing.
This is the smallest game possible according to the book- each side has a force commander and 2 groups. Each group has a commander and 2 "elements" (what I will inevitably call a "unit").
Starting from the bottom left the forces are 2 elements of Hessian soldiers (average size units) and a group commander betwen them. In the center is the British Force Commander, then on the right flank are 2 elements of British infantry with their Group commander in between them.
Across the top from left to right are 2 elements of US infantry and their Group commander, the US Force Commander in the road, then a tiny element of artillery and a element of infantry.
(as per usual, click the photo to see bigger version)
The game starts with a d6 roll to see how goes first. US wins.
The US elects to activate their left flank first. The group commander rolls a d3 to see how many command points he has this turn and gets a 3.
The artillery is activated first and targets the British infantry to its front. Small guns have a range of 36" so it within range and has a direct line of site.
Shooting starts with 2 dice and a small battery gets 2 more dice. Since the range is over 12" there is a -1 die. A 5 or 6 is needed to score a hit. Over 12" cannons shoot round shot and inflict disorder moarkers instead of casualties.
No hits! The gun is reloaded and fired again.
The infantry element is activated. Their first maneuver order is 3" of movement to the wood line. They like this cover so they will stay here. Their second manuever order is to place an "opportunity fire" marker. The first US group is finished all its moves so the turn passes to the British.
The British activate their right flank. The group commander rolls his command points and gets 2.
The right infantry element is activated first. An average infantry element basically gets 3 manuever orders and 3 combat orders. Manuever orders are 3" of movement or reloading your guns (plus a few other things). Combat orders are shooting. The first manuever order is 3" straight ahead. They are now within 12" of the US in the woods but the US element is not directly to the front (the 12" threat zone directly in front triggers the "opportunity fire") so the US does not get to interrupt. The British can fire with a combat order since the US unit is in their forward arc. According to the rules there is a free pivot to put the elements leader in direct line to target.
The range is under 12". The shooting starts with 2 dice and an average infantry element adds 4 dice. 1 die is subtracted for the Americans being in cover in the woods. 5's or 6's are needed to hit. 2 hits are scored. This is not enough to cause any reaction yet.
Because of the pivot, the British element is now in the US threat zone so they can interrupt and use their opportunity fire. They have the same 6 dice, without the -1 since the Brits are not in cover. They score 3 hits!
3 hits is the threshold for an average infantry unit so they must pass a morale test to stand in place. They need a 7 and get it. They are however now dropped down 1 fitness level, from Fit to shaken. A shaken unit has one less manuever point so the British unit is now out of actions.
The group leader is within his 12" comman range and has 2 command points. He uses 1 to force a reload. The element needs to roll 7 or better and they do.
The group leader uses his last command point to order them to fire. They need to roll 8 or higher this time since it is the second order. An 11! they shoot.
3 hits! Now the US element has taken more than 3 hits so they will go down a level (fit to shaken) and must make a morale check to stand.
They need a 7 or higher but they took more than 3 hits so it is a -2 to the roll. They get a 10 and stand fast, although now the unit is shaken.
The next British element is activated. It uses its first manuever points to move ahead 3". It shoots and inflicts 1 hit. The second manuever order is to reload.
It fires again and gets a total of 3 hits.
The US player activates his remaining group. The first manuever is 3" to the fence.
Crossing the fence costs a manuever order. (It also causes disorder but I forgot that bit at the time). They use their last order to go on opportunity fire.
The next element does basically the same thing.
They are also on opp fire. The commander moves up with them and they are done. Next the British player activates an element.
The Hessians are activated. The group commander rolls his command points and gets the max: 3!
The left element is activated first and it manuevers ahead 3". Certain units and nationalities have special rules. Hessians are considered more cumbersome so they only get 2 manuever points per turn instead of 3. This is balanced by their supposed better musketry drill so they get to reroll their misses the first time they shoot and don't suffer from "ragged volleys" (rolling 2 or more 1's subtracts 1 hit from your shooting).
The Hessians are now within musket range (12") but they trigger the US opp fire.
The US scores 1 hit. Not enough to cause an effect yet (need 3).
The Hessians now reply and get 3 hits! (that rerolling misses makes a big difference).
3 hits is the degradation threshold so the US player must roll 7 or higher to stand. The get a 6 and fail. They must fall back d3 moves.
They roll a 1 so the whole manuever is going over the fence. And they are now "shaken".
The next Hessian element activates. They move forward 3"
In a replay of the previous element, they trigger the US opp fire and take 1 hit. Not enough to stop them.
They reply with their volley and get 3 hits (again that reroll is a killer).
The US must roll a 7 or better to stand. They do (a 9) but they are now "shaken".
Their second manuever order is to reload.
The Group commander uses a command point to get them to fire again. A 7 or better is required and they roll it.
Another 3 hits. The US unit is at the degrading threshold again.
They need a 7 or better to stand. This time they fail. and drop from "shaken" to "exhausted".
They must move back d3 moves and roll 3 moves. Over the fence is one and then back 3" twice.
This is the smallest game possible according to the book- each side has a force commander and 2 groups. Each group has a commander and 2 "elements" (what I will inevitably call a "unit").
Starting from the bottom left the forces are 2 elements of Hessian soldiers (average size units) and a group commander betwen them. In the center is the British Force Commander, then on the right flank are 2 elements of British infantry with their Group commander in between them.
Across the top from left to right are 2 elements of US infantry and their Group commander, the US Force Commander in the road, then a tiny element of artillery and a element of infantry.
(as per usual, click the photo to see bigger version)
The game starts with a d6 roll to see how goes first. US wins.
The US elects to activate their left flank first. The group commander rolls a d3 to see how many command points he has this turn and gets a 3.
The artillery is activated first and targets the British infantry to its front. Small guns have a range of 36" so it within range and has a direct line of site.
Shooting starts with 2 dice and a small battery gets 2 more dice. Since the range is over 12" there is a -1 die. A 5 or 6 is needed to score a hit. Over 12" cannons shoot round shot and inflict disorder moarkers instead of casualties.
No hits! The gun is reloaded and fired again.
No hits! The Group commander uses his command points to get the gun to fire once more but again no hits.
The group commander attempts to order the gun to reload. This requires a morale roll (7 or more on 2d6) but he is at -1 since this is the second forced oreder. A 7 means the order fails.The infantry element is activated. Their first maneuver order is 3" of movement to the wood line. They like this cover so they will stay here. Their second manuever order is to place an "opportunity fire" marker. The first US group is finished all its moves so the turn passes to the British.
The British activate their right flank. The group commander rolls his command points and gets 2.
The right infantry element is activated first. An average infantry element basically gets 3 manuever orders and 3 combat orders. Manuever orders are 3" of movement or reloading your guns (plus a few other things). Combat orders are shooting. The first manuever order is 3" straight ahead. They are now within 12" of the US in the woods but the US element is not directly to the front (the 12" threat zone directly in front triggers the "opportunity fire") so the US does not get to interrupt. The British can fire with a combat order since the US unit is in their forward arc. According to the rules there is a free pivot to put the elements leader in direct line to target.
The range is under 12". The shooting starts with 2 dice and an average infantry element adds 4 dice. 1 die is subtracted for the Americans being in cover in the woods. 5's or 6's are needed to hit. 2 hits are scored. This is not enough to cause any reaction yet.
Because of the pivot, the British element is now in the US threat zone so they can interrupt and use their opportunity fire. They have the same 6 dice, without the -1 since the Brits are not in cover. They score 3 hits!
3 hits is the threshold for an average infantry unit so they must pass a morale test to stand in place. They need a 7 and get it. They are however now dropped down 1 fitness level, from Fit to shaken. A shaken unit has one less manuever point so the British unit is now out of actions.
The group leader is within his 12" comman range and has 2 command points. He uses 1 to force a reload. The element needs to roll 7 or better and they do.
The group leader uses his last command point to order them to fire. They need to roll 8 or higher this time since it is the second order. An 11! they shoot.
3 hits! Now the US element has taken more than 3 hits so they will go down a level (fit to shaken) and must make a morale check to stand.
They need a 7 or higher but they took more than 3 hits so it is a -2 to the roll. They get a 10 and stand fast, although now the unit is shaken.
The next British element is activated. It uses its first manuever points to move ahead 3". It shoots and inflicts 1 hit. The second manuever order is to reload.
It fires again and gets a total of 3 hits.
This is the casualty threshold of an average unit. They must check morale to stand. A 7 or better on 2d6 and they get it. They are now lowered from "shaken" to "exhausted". "Exhausted" has some serious penalties, and if they drop another level they are shattered and out of the game.
The last thing the British group commander does is move up with his troops. Play now passes to the US player.The US player activates his remaining group. The first manuever is 3" to the fence.
Crossing the fence costs a manuever order. (It also causes disorder but I forgot that bit at the time). They use their last order to go on opportunity fire.
The next element does basically the same thing.
They are also on opp fire. The commander moves up with them and they are done. Next the British player activates an element.
The Hessians are activated. The group commander rolls his command points and gets the max: 3!
The left element is activated first and it manuevers ahead 3". Certain units and nationalities have special rules. Hessians are considered more cumbersome so they only get 2 manuever points per turn instead of 3. This is balanced by their supposed better musketry drill so they get to reroll their misses the first time they shoot and don't suffer from "ragged volleys" (rolling 2 or more 1's subtracts 1 hit from your shooting).
The Hessians are now within musket range (12") but they trigger the US opp fire.
The US scores 1 hit. Not enough to cause an effect yet (need 3).
The Hessians now reply and get 3 hits! (that rerolling misses makes a big difference).
3 hits is the degradation threshold so the US player must roll 7 or higher to stand. The get a 6 and fail. They must fall back d3 moves.
They roll a 1 so the whole manuever is going over the fence. And they are now "shaken".
The next Hessian element activates. They move forward 3"
In a replay of the previous element, they trigger the US opp fire and take 1 hit. Not enough to stop them.
They reply with their volley and get 3 hits (again that reroll is a killer).
The US must roll a 7 or better to stand. They do (a 9) but they are now "shaken".
Their second manuever order is to reload.
The Group commander uses a command point to get them to fire again. A 7 or better is required and they roll it.
Another 3 hits. The US unit is at the degrading threshold again.
They need a 7 or better to stand. This time they fail. and drop from "shaken" to "exhausted".
They must move back d3 moves and roll 3 moves. Over the fence is one and then back 3" twice.
The Group commander has one point left so he uses it to order his men to reload. They need to roll an 8 or better (this is the second forced order) and get a 12, so they reload. They are now finished. All elements have been activated so the turn is over.
This turn took about 1.5 hours because it was my first attempt at the rules and needed to consult the book
often. It would speed up a bit with familiarity. (Or if I had printed out the
QRS or made unit cards- but I was lazy) Also it was a lot of combat resolution
and I was taking (blurry) pictures. Moving goes a lot faster than combat.
I used a very small table (3x4) so
the forces were pretty much starting at contact range and that turn was pretty
decisive.
Subscribe to:
Posts (Atom)